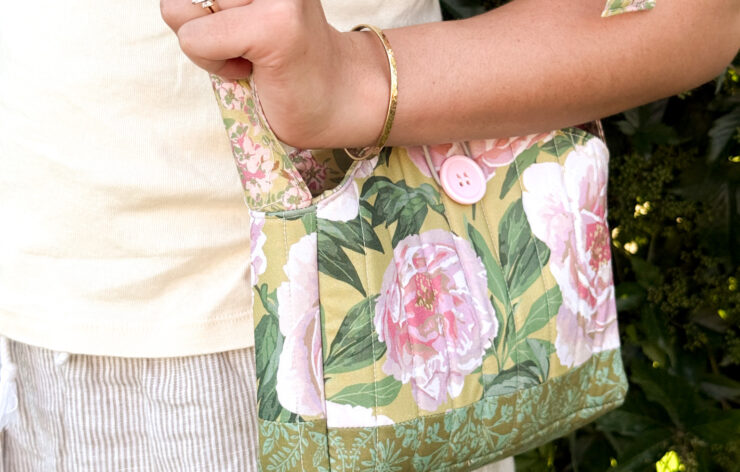
The best part about sewing up a custom handbag is you choose the look!
A good bag does more than carry your things. It carries a bit of your personality, too!
Kris Thurgood stitched up a few easy ways to personalize your carryall game, so you can have a bag that’s both stylish and practical.
Why Make your Own Handbag?
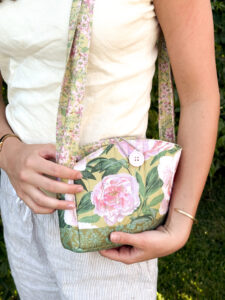
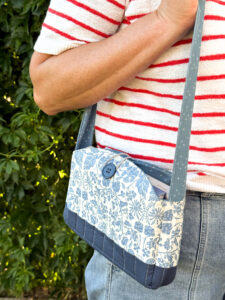
Sewing your own handbag is more than just a fun hobby, it’s a way to express yourself and create something useful. Skip the mass-produced look! When you make your own bag, you get to choose the colors, patterns, and materials that reflect who you are. Plus, nothing boosts confidence quite like a compliment on your own creation.
For First-Time Bag Makers
Before jumping into making your own handbag, Kris says to keep these things in mind:
- Start simple. Choose an easy project to gain experience.
- Use the right interfacing. It provides structure and durability to your bag.
- Press as you go! It may seem tedious, but pressing after each seam makes a big difference in the finished look.
Step-by-Step: Picnic Blanket Bag
![]()
![]()
![]()
This picnic blanket bag is a beginner-friendly project that combines quilting and bag-making into one rewarding weekend sew. Whether you’re heading to the park, beach, or your backyard, the Picnic Blanket Bag is a must-make project that transforms from a cozy quilt to a backpack-ready tote.
- Sew the Fabric Strips Together
Start by selecting coordinating fabrics and sewing long strips together. This gives you the patterned fabric base for your quilted blanket.
- Sub-Cut the Strips into Squares
Once your strip set is done, sub-cut them into squares. This creates a patchwork look with minimal effort.
- Assemble the Quilt Top
Lay out the squares in a 4 x 4 grid—four squares across and four squares down. Sew them together, row by row, to complete your quilt top.
- Quilt and Bind
Layer your quilt top with batting and backing, then quilt it however you like (straight-line quilting is great for beginners). Finish by adding binding around the edges.
- Add the Pocket & Backpack Straps
On the back side of the quilt, sew on a pocket that will fold up to become your bag. Attach backpack straps so the whole blanket can be worn hands-free.
- Fold It Up and Go!
The final step? Fold your blanket into the pocket to convert it into a bag—and you’re ready for your next outdoor adventure!
Find more sewing inspiration from Kris at mygirlfriendsquiltshoppe.com.


Add comment