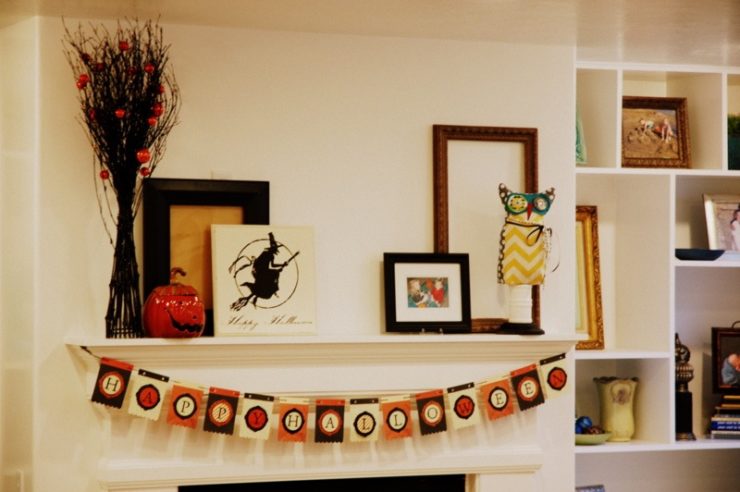
It’s the Who’s Who of your fall décor. A 2-foot pedestal owl is a great transitional statement piece!
Blogger Risa Baker shares a tutorial on this project that uses up left-over fabric scraps and craft supplies.
You will need:
1/3 yard for body, and scraps for the rest
Batting
Wood, including 2×4, base, and candle stick
Cut everything to the size you want. I have not included a pattern. Every owl I make is different, and I just make my own pattern, using scrap paper. Just make sure you make your body long enough to wrap around a piece of wood at the base.
1 -Sew stomach to body.
2 – Sew eyes to eye backing.
3 – Sew eye backing to body.
4 – Sew nose to body.
It should look something like this. You can add the embellishments for the eyes with hot glue later.
Stuff it as full of batting as you can.
To attach the base, fold like you are wrapping a gift, and use your staple gun, or hot glue to secure.
Attach to base either with glue or screws. If using screws or wood glue, do it in advance. If you choose to use hot glue, you can do it after. Embellish with ribbon, or whatever you choose. ENJOY! These make perfect gifts, and can last through the entire fall season.


Add comment