
Creating Keepsakes Editor, Megan Hoeppner shares 5 easy steps to make your own Halloween lanterns.
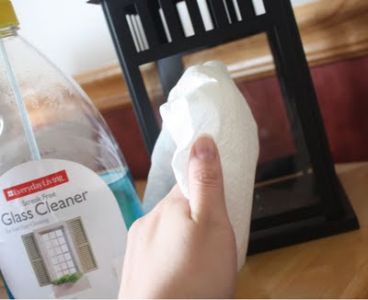
1. Make sure your glass is clean and dry.
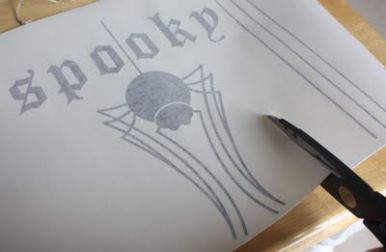
2. Trim your vinyl design to fit your surface.
3. Remove the protective sheet from your vinyl and adhere the tacky side of the image to your surface. Once adhered, rub the image to secure it to glass.
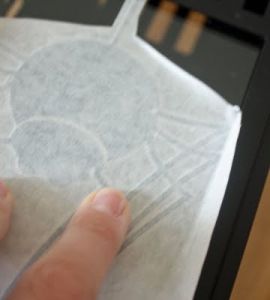
4. Carefully pull back vinyl paper to reveal adhered image. Note: If part of the image doesn’t adhere, simply put the paper back down and continue to rub image until it’s secure.
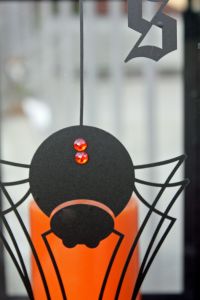
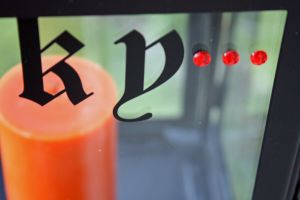
5. Once you’ve adhered your vinyl to your glass, you can add finishing details to your vinyl, such as rhinestones or glitter glue.
Now that you know how to dress up your glass surfaces, here are a few project ideas to try:
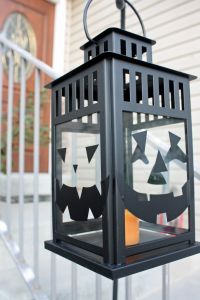
Pumpkin Lantern
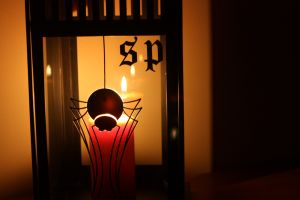
Adhere pumpkin vinyl to three sides of your lantern. When it’s lit, the faces will cast creepy shadows. Bwa ha ha ha!
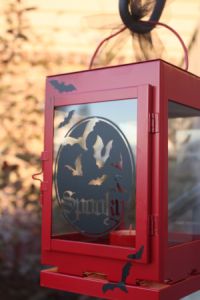
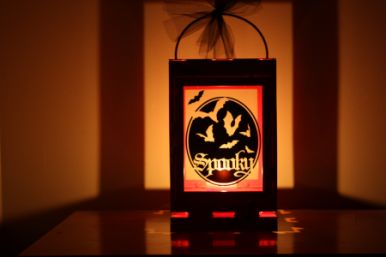
Bat Lantern
Make vampire bats shine on a red lantern. Add a splash of tulle to the handle to finish off your design.
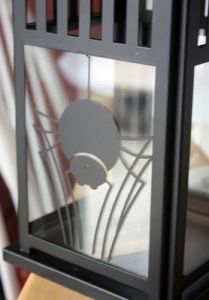
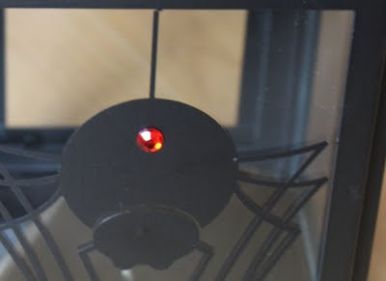
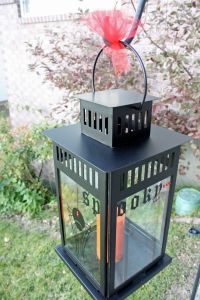
Spider Lantern
This spider vinyl comes in small, medium, and large, making it a great choice when it comes to decorating a large lantern.
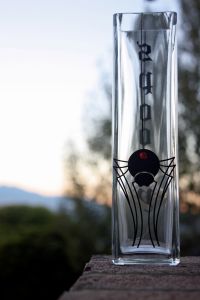
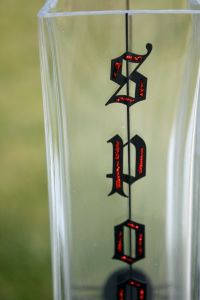
Spider Vase
Give any vase a frightfully fun Halloween costume with a little vinyl and some glitter glue like this Stickles from Ranger Industries.
Product Resources
All of my candles, lanterns and vases were purchased at IKEA.
Find creepy-cute Halloween vinyl from the following companies:
• My Mind’s Eye
• Stampin’ Up!
• Vinyl Wall Art
Have a hauntingly good time! And check out more project ideas on my blog at meganhoeppner.blogspot.com.


Add comment