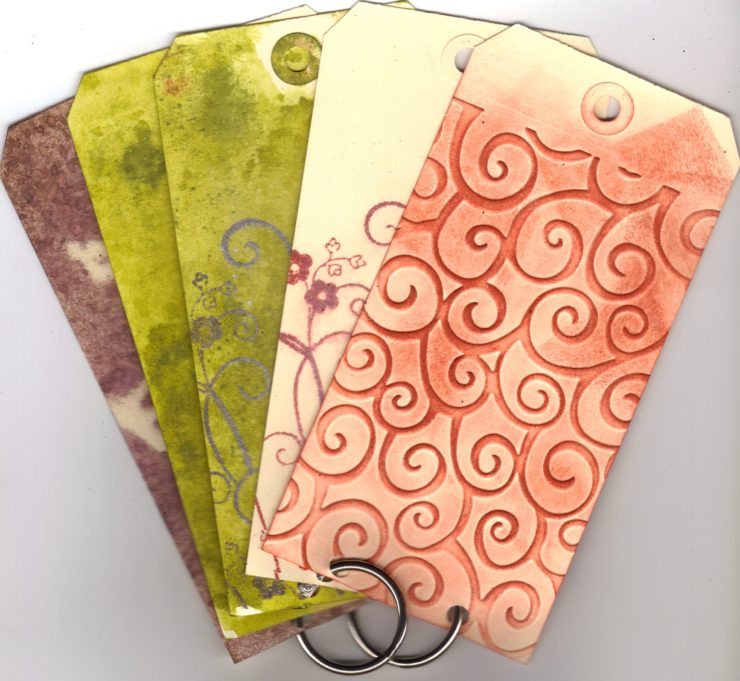
Cailee McConkey from Heartfelt Creations shows the step-by-step process.
Supplies:
Non-stick mat
Distress Ink by Tim Holtz
Mini Mister by Ranger
Glue pad
Glitter
Paper tags
Heat gun
Decorative stamp
Instructions:
1. Put non-stick pad down on working surface.
2. Take the distress ink pad and stamp it onto the non-stick mat.
3. Use the mini mister and spray the ink lightly.
4. Take tag and swirl it in ink.
• Look at tag to see if you get your desired effect.
5. Then use the heat gun to dry (set) the ink.
6. Wipe off excess ink.
7. Then take your glue pad and stamp.
8. Stamp the glue pad on the stamp making sure to get all areas.
• Usually is good to go over it twice for better results.
9. Take the stamp and place on the area of tag that you desire
• When pulling the stamp off hold the tag because the stamp sticks to the tag
10. Then spread glitter over the tag where you stamped the glue.
11. Dump off the excess glitter.
• If glitter doesn’t come off tap the back of the tag.
12. You can distress the edges if you like.
• Gives different effects.
13. Then you have the finished product.
See Heartfelt Creations at:
Scrapbook USA Expo
Friday & Saturday, September 11 & 12
South Towne Expo Center, Sandy
Show Hours:
Friday 10 a.m. – 12 a.m.
Saturday 10 a.m. – 6 p.m.


Add comment