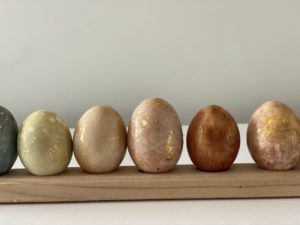
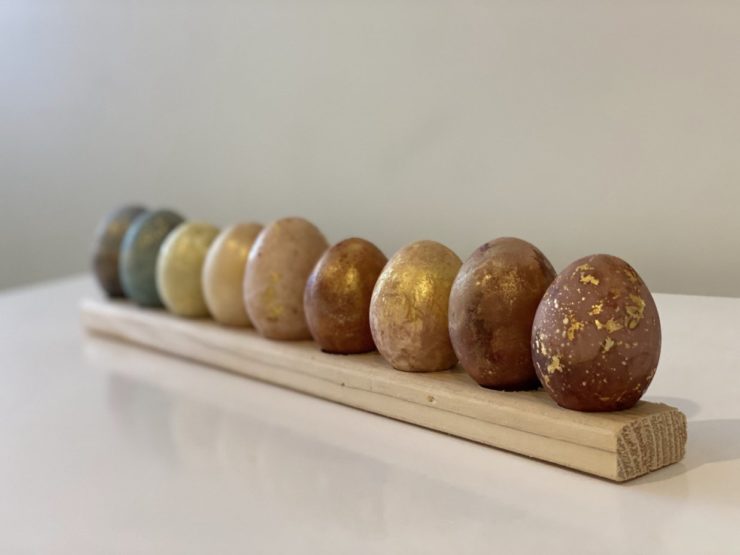
Naturally dyed Easter eggs have a sophisticated look to them.
If we’re being honest, Easter egg projects can be a letdown: the pretty designs always seem to look better in pictures than they do in a home kitchen. But we are smitten with the success that came straight out of the produce section!
Studio 5 Creative Contributor Kelly Lonnecker breaks down how to dye your Easter eggs using natural and organic ingredients.
How To: Naturally Dyed Easter Eggs
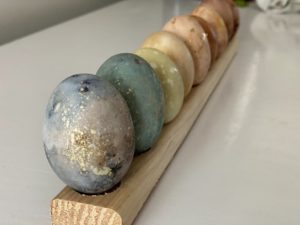
Spice up your Easter egg dyeing this year by using naturally brewed organic dyes! You’ll love the rich, vibrant colors that are created from these everyday kitchen ingredients. And, as an added bonus, you don’t have to worry about chemical dyes or harmful ingredients! Here are the simple steps to creating rainbow, naturally dyed Easter eggs of your own!
Supplies
White Vinegar
Water
Pot for boiling
Containers for soaking (wide mouth kerr jars work great)
Gold AirBrush Food Paint (optional for speckling)
Gold Leaf and edible glue (optional for decorations)
Dye Colors
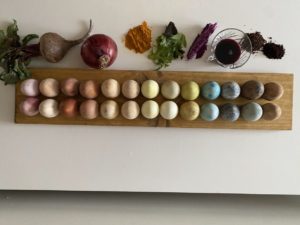
Yellow: Turmeric (4 TBLS available in spice or health food section)
Pink: Fresh red beets (1 Large Beet Diced-much more vibrant than canned)
Turquoise Blue: Red Cabbage (1/4 cabbage diced)
Deep Blue/Purple: Pre-Mixed Grape Juice
Burnt Orange: Red Onion Skins (from about 4 onions)
Brown: Roasted Chicory Root/Black Cocoa (2 TBLS of each) or Strong Black Coffee
Light Green: Spinach
You can also blend dyes to create secondary colors:
Tumeric + Cabbage = Bright Green
Beets+Tumeric= Orange
To make dye:
- Add 4 cups of water with a few Tablespoons of Vinegar and dye base to a pot. Boil for 15-30 minutes. To get more vibrant colors and save time, you can add your eggs to the liquid and boil them for 15-minutes. For pre-mixed grape juice, simply put the eggs directly into the juice and allow to sit for 24 hours.
- After boiling for 30 minutes, allow the dye to cool and add to a glass mason jar or other container. Add eggs back into dye and allow to sit in the refrigerator for at least 12 hours. The longer you leave them, the more vibrant your colors will become. 24 hours is optimal for the most vibrant eggs.
- Pull eggs from dye, rinse and allow to dry. Eggs will have a dark film from the dye that will need to be rinsed off to reveal the true color.
- If desired, add gold paint by splattering with a toothbrush or dropping with paint and rolling quickly in water to create a marbled effect. You can also adhere gold leaf to the eggs for a fancy finish.
- Display eggs and enjoy on your Easter table!






Add comment