
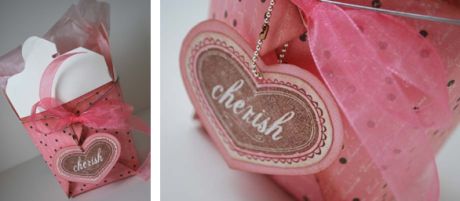
There is something incredibly cute about an altered/decorated take-out box. It has so many design possibilities. I especially like to use an open box to fill with homemade goodies.
They are easy to find at most craft & hobby stores (I got mine at Xpedex here in Utah). They are inexpensive, come in different sizes and colors and you can even get them in clear.
STEPS TO FOLLOW:
For a large take-out box, you’ll need one 12″ x 12″ sheet of patterned paper and some coordinating embellishments (tags, ribbon, etc…)
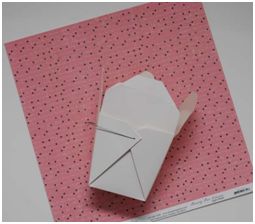
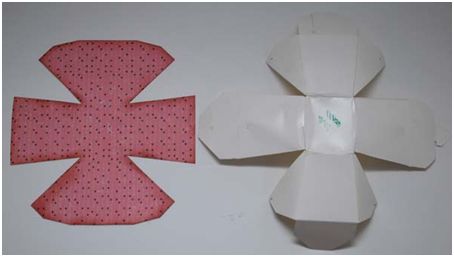
Start by opening up the take-out box. Slip the metal handle from the sides of the box, being careful not to rip. Set holder aside, you’ll put it back on after the box is altered.
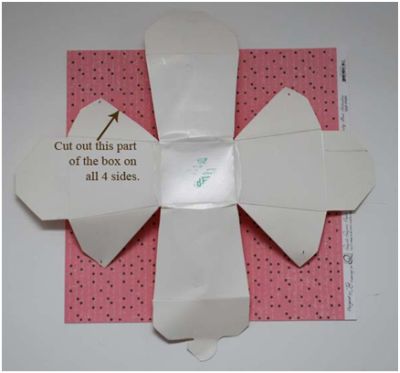
To reduce the bulkiness of the box, cut part of the box away. This will make it easier to put back together as well.
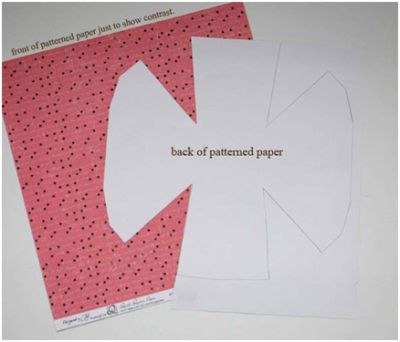
Lay opened box on the back of patterned paper and trace the box with pencil except the top flaps, those we are leaving unaltered. Cut out.
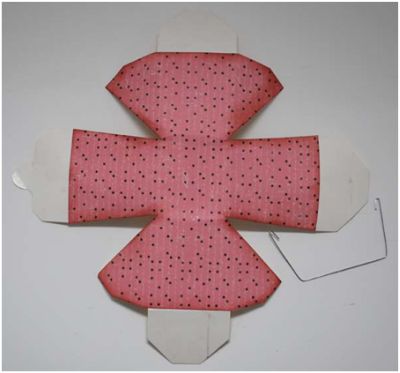
Ink the edges of patterned paper if desired. Adhere the paper piece to the outside of box. This can be a bit tricky to get it lines up perfectly. One tip is to apply adhesive only to the middle square of the box first. Carefully line the paper on it and press to adhere well.
Now lift each flap of paper and place more adhesive on each part of the box until it’s all covered. If you have some white showing (you probably will), just trim away the excess.
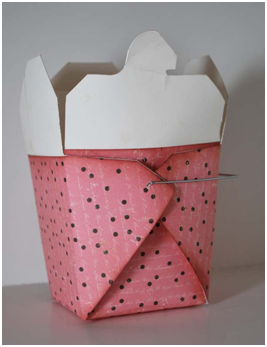
 Find the holes on the inside of the box and using a paper piercer or push pin, create a hole all the way through the patterned paper.
Re-assemble the box, carefully slipping the metal handle through the holes. You may have to bend the handle back in place and adjust the box so it stands correctly.
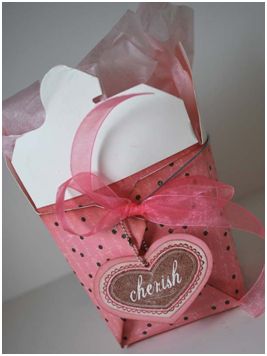
Tie a coordinating tag, ribbon or other embellishment to finish it off. Tuck some coordinating tissue or excelsior into the box and it’s all ready to fill.


Add comment