Studio 5 Contributor Jennifer Heslop says start with one or more of the following ideas and create your own designer look.
Fabric: Purchase two panels in coordinating fabric and combine the two panels together. Simply cut off 1/3 of each panel. Stitch one of the cut sections to the remaining 2/3 panel. This technique will create a wide border along the bottom edge of your drapery. Follow this process to create extra length to panels for higher ceilings.
Fabric swatches can also be stitched or glued to panels in endless design possibilities. Stripes, blocks, shapes, etc. can be attached in various patterns to coordinate drapery with bedding, pillows, etc.
Trims, Ribbon, Etc.: Use fabric glue or iron on adhesive tape to adhere trims and ribbons to panels. Use ribbon to create borders, or stripes. Bias tape can be stitched in “swirled” patterns to achieve a fun, geometric design. Silk flowers, buttons, etc. make fun additions as well.
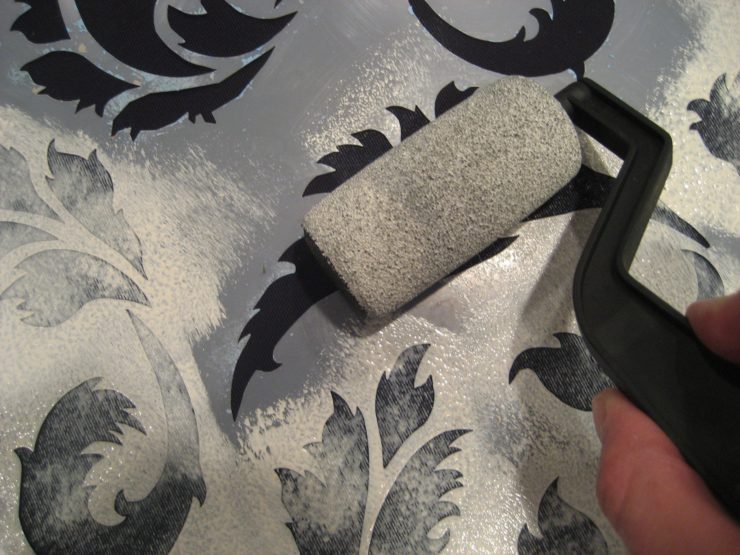
Paint: Plain panels can be given the look of designer fabric by stenciling patterns onto the panel. Purchase a stencil, or cut one of your our design, and spray the back of the stencil with stencil adhesive. Regular acrylic paint can be used if an acrylic fabric medium is mixed with the paint. Adding the medium to the paint will keep the paint soft and flexible once it dries. Acrylic fabric medium can be purchased at craft stores. For large stencils, use a small foam roller. The process will go much quicker if the paint is rolled on. Mix paint on a paper plate. Roll roller through the paint, just until paint covers the roller. You don’t want to roller “dripping” with paint. Roll paint over the stencil. Remove the stencil once the entire area is covered. Let panel dry.
Studio 5 Contributor Jennifer Heslop loves turning trash into treasure. She is handy with a hammer, and has a knack for saving a dime by doing it yourself! If you have questions for Jenn, e-mail her at studio5@ksl.com


Add comment