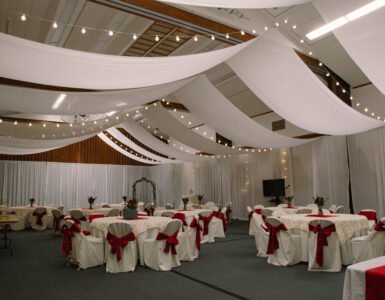
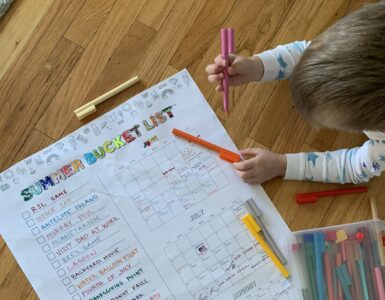
If you’re looking for a good reason to throw a party, why not celebrate the start of summer? Robert’s Crafts has everything you will need to pull off an impressive event.
Brett Lund from Robert’s Crafts shares ideas that will get you started with your summer party planning.
Instructions For The Envelope Bags.
For the envelope sample, I used a simple A2 envelope (4 3/8″ x 5 ¾”). These instructions can be performed on any size envelope that you have.
1. Seal the flap of the envelope. I use a dry adhesive such as the tombow adhesive. You can use a glue stick. Just give the glue time to dry if you use a wet adhesive.
2. To make the sides and the bottom of the gift bag you will need to take the envelope and make it so the right and the left side of the envelope is longer than the top and the bottom of the envelope.
3. Score both the left side and the right side of the envelope at 1″ from the edge.
4. Score 1″ from the bottom of the envelope.
5. If you are going to stamp on your envelope, you want to do that next. Remember that if you don’t get to the exact edge that’s ok, because the top edge will be cut off, and the right and left edge will be folded in and you really won’t see the image anyway.
6. Take a bone folder and fold the flaps into the card and score them extra well making nice crisp folded edges. This will make it much easier for you to fold the flaps in if the edges are nice and scored.
7. Next you are going to cut off the top edge of the envelope (it will be one of the shorter sides).
8. Take you envelope, and place your hand inside the envelope, (this will open it up) You will push the sides down.
9. Next you will flip the envelope so you see the bottom, and you will push the bottom in. As you push the bottom of the envelope in, you will start to make two triangle flaps on the bottom. Take one flap, score the edges making a nice crisp triangle, and then repeat it with the other side.
10. Once both triangles are nice and folded, you will use double stick tape to stick them to the bottom of the bag. Stick your hand inside the bag and press on the bottom of the bag sticking the triangle flaps to the bottom of the bag.
11. Take your fingers and slide them on the inside of the side flap, this will push them in and make your bag close. Repeat this with the other side.
12. Take the top of your bag, and fold it down.
13. If you want to glue your bag closed apply adhesive to the inside of the flap keeping it glued down.
For more information go to www.robertscrafts.com.
To enter to win the Robert’s Craft giveaway go to:
http://blog.robertscrafts.com/2011/05/photo-board.html


Add comment