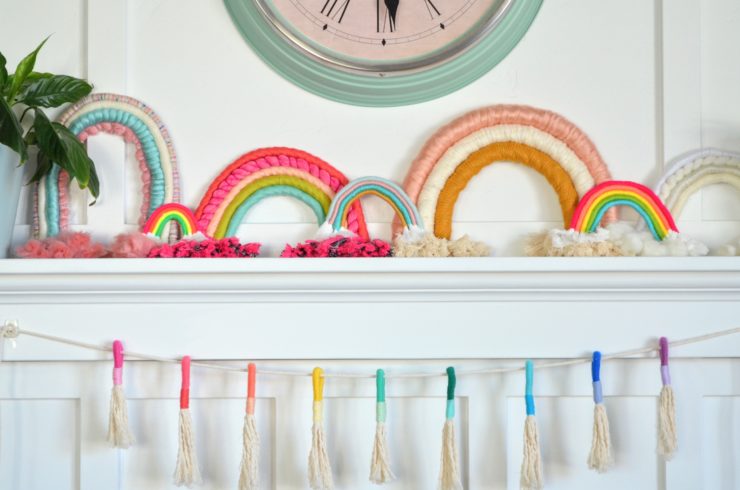
This new rainbow craft brings the bright and happy to any rainy day. These cute rainbows are so easy to make, you’ll have a house full before too long!
Sarah Freeman shares how to wrap fiber with yarn to make a pretty rainbow.
Find more crafts from Sarah on her website, www.apricotpolkadot.com.
The newest thing in fiber arts: How to make a wrapped-rope rainbow
You’ll get all the warmth of a handmade textile. None of the time-consuming needlework or weaving. Turn on Netflix and wrap yourself a fiber rainbow.
The wrapped rainbow is an easy fiber craft for beginners and beyond.
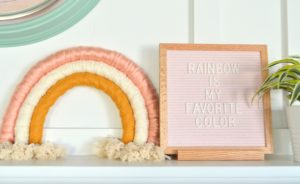
Supplies Needed:
- Rope and/or yarn roving in any thickness and color.
- Yarn.
- Embellishments.
- Scissors.
- Large Yarn Needle.
- Scotch Tape.
- String.
How To Instructions from our guest Sarah Freeman @apricotpolkadot:
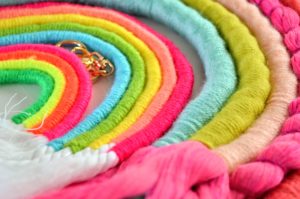
- Cut your rope or roving to the lengths that you want your arches to be. I like to lay it on the floor or table to keep them in order so that I get the sizes correct. If you don’t want to buy a more expensive, thicker rope, you can cut several pieces from a thinner rope and secure them together with scotch tape.
- Start wrapping your yarn. Hide your end by wrapping over it. The rope will stretch and get a little longer as you wrap it tightly. This is important to keep in mind if you are wanting to leave one arch unwrapped. The unwrapped arch will not be as long as the wrapped arches. Leave room at the ends so that you can even them out at the end by trimming them down.
- If you are going to leave an arch unwrapped, make sure you at least secure the ends with string so that it doesn’t come unraveled.
- Once complete, turn the whole rainbow over to begin stitching together. Use a large needle and string to stitch the arches together. Continue stitching up and down all the way around. Make sure the arches are all secure.
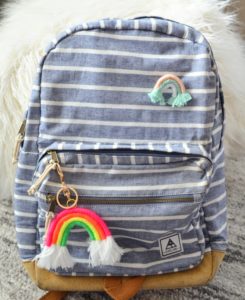
- Add embellishments or key chains or pins.
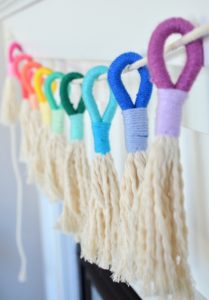
- This same technique can be used to make other shapes like a wrapped tassel garland, below.
For more detail on this tutorial, check out Sarah’s website at www.apricotpolkadot.com.




gemlik zeytinyağı
medusa piercing narbe
ford ft pierce
Gayrettepe elektrikçi
Why doesn’t she stop talking and interrupting her and let her tell us how to make it! Keeps stopping her.