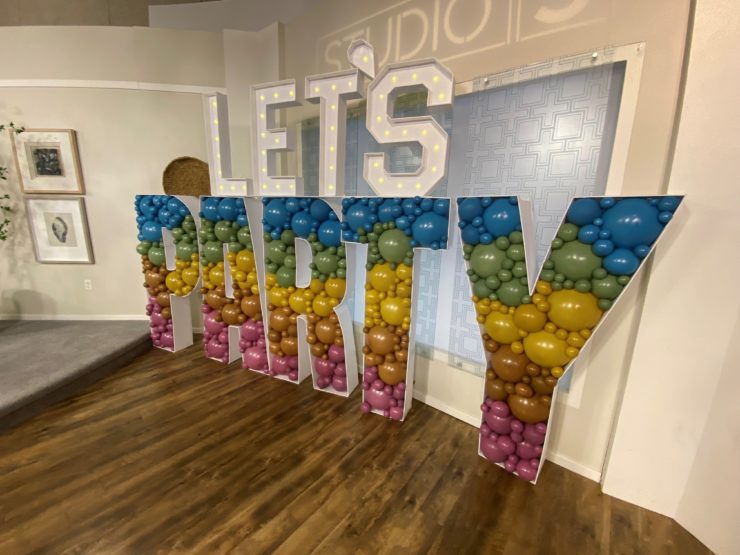
These balloon-filled letters make a bit statement.
If you’re looking for a WOW factor at your next big celebration, craft up a balloon filled foam letter. You can create these statement décor pieces at home in a variety of sizes and for a minimum cost (roughly $20 for a completed 5 foot letter).
Kelly Lonnecker shares how to create balloon-filled letters out of foam core, and the best way to fill it up with different balloon sizes.
Giant Balloon-Filled Letters
Supplies
- Foam Board (20×30 sheets available at Dollar Tree)
- Cutting Mat
- Cutting Ruler
- Razor Knife or Exacto
- Packing Tape or White Duct Tape
- Scissors
- Glue Gun (Hot and Low Temp Settings)
- Assortment of 5” and 9” or 12” balloons (Plan for 100 5” balloons for one foot letter)
- Bargain balloons is the best source for bulk balloons with good color and size variety
- Balloon Blower
Instructions
- Create your foam letter base by tracing a template (google 5” foam letter template for a variety of print and trace options), projecting a letter with a home projector or freehand drawing a letter onto foam board. For letters larger than 20×30, tape multiple sheets of foam board together. Cut out letter using a razor or exacto.
- Create the walls of your foam letter by cutting foam board into strips of the same height. For a 5-foot letter and 8” wall works well. For smaller letters, adjust wall height accordingly. Begin building the walls around your cut out letter by cutting the strips to the correct length and adhering them at a 90 degree angle to the letter edge. Use packing tape to secure walls in place and then use hot glue to reinforce the joints. For curved letters, score wall strips at 1” increments and bend to fit around the curve. To speed up the process, you can also score the strip at corners and bend it around rather than having a separate seam.
- Once your letter is built and seams are secured with hot glue, you can begin filling the letter with balloons. Start with the large size of balloon and adhere them as close together as possible to fill up the bulk of the interior space. Then move to the 5” balloons to fill all the little holes and gaps. Secure balloons using hot glue on low temp or glue dots.
For a full video tutorial on creating these fun foam letters, click here and here.


Add comment