Turn your Thanksgiving pies into works of art!
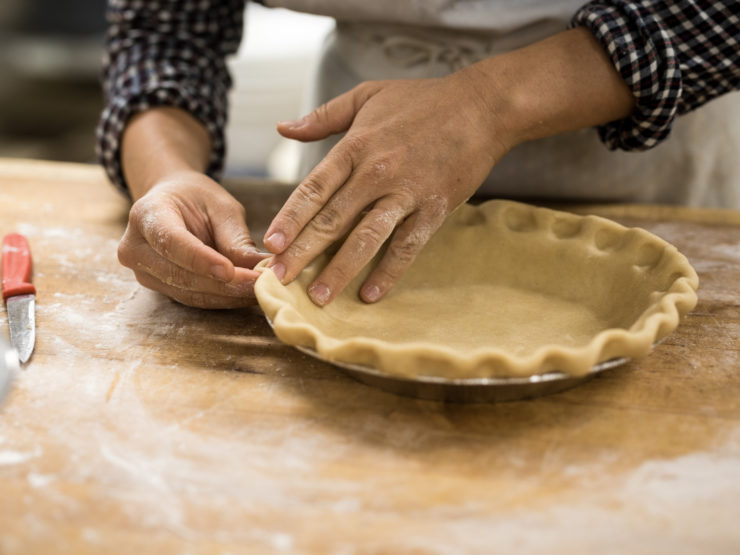
There’s an endless variety of holiday desserts, but one in particular that’s known as the mascot of Thanksgiving: The PIE. It’s the inspiration behind our mini series, “Eyes on the Pies.” A pretty crust can transform the look of your pie. A little bit of cutting, crimping, or weaving will give your Thanksgiving dessert a serious makeover.
Alyssa Bybee shares a few designs for a prettier pie crust, as well as her very own pie crust recipe.
Find more recipes from Alyssa on Instagram, @infinetaste, or at infinetaste.com.
Easy Homemade Pie Crust
Prep Time: 10 minutes
Cook Time: 30 minutes
Additional Time: 1 hour
Total Time: 1 hour 40 minutes
Servings: 1 pie crust
Author: Alyssa—In Fine Taste
INGREDIENTS
- 1 ¼ cup flour measured correctly
- ¼ cup butter cold
- ¼ cup shortening cold
- 1 tablespoon sugar
- ½ teaspoon salt
- 4 tablespoons ice water
METHOD
1. In a bowl mix together your flour, sugar, and salt. Then cut your cold butter and cold shortening into your dry mixture using either two knives, a pastry blender, or a food processor. Cut your butter and shortening in until you have a rugged mixture, it should resemble breadcrumbs.
2. Add your 4 tablespoons of water to your mixture, stir together. The mixture will still be a little dry and crumbly. If you can pinch the dough together with your hands, then the dough is ready! If it’s still too dry you can add another tablespoon of ice water.
3. Work the dough together with your hands, into a ball. It should come together quickly, don’t work it with your hands for long, you don’t want to warm the butter or shortening up.
4. Wrap your dough with plastic wrap and refrigerate for at least 1 hour. If you are making this dough for the future, freeze it at this point.
5. After you’ve chilled your dough, let your dough sit on the counter for 5 minutes before attempting to roll out. Flour your work surface, roll your dough out into a circle about ⅛” thick. You’ll want your circle to be about 1” bigger than the pie dish. Turn your pie dish upside down over top of your circle to check for the size.
6. Use your rolling pin to help lift your pie crust into the pie dish.
7. Depending on what finishing your want for your pie crust will determine how you want to trim your crust. If you want a simple edge, you can trim to the size of the pie dish and use the fork tines to press down and add a decorative edge.
8. f you want a thick edge, trim your crust so that you have a ½” hanging over and then fold the excess under on itself.
9. If you want a fluted edge, trim your crust so that you have a ½” hanging over the edge of the pie dish, fold the edges under, and then using your forefinger and thumb created the fluted edges
10. Chill your pie crust for 30 minutes in the fridge or place it in the freezer for 10 minutes so that the pie crust will hold its shape in the oven.
11. If you are pre-baking your pie crust, line your unbaked pie crust with foil or parchment paper and fill it with pie weights, dry beans or sugar. Bake at 400 degrees for 20-30 minutes. Cool completely before adding your filling.
12. If you are not blind baking your crust, fill it with your pie filling of crust and continue with your pie’s baking instructions.


Add comment